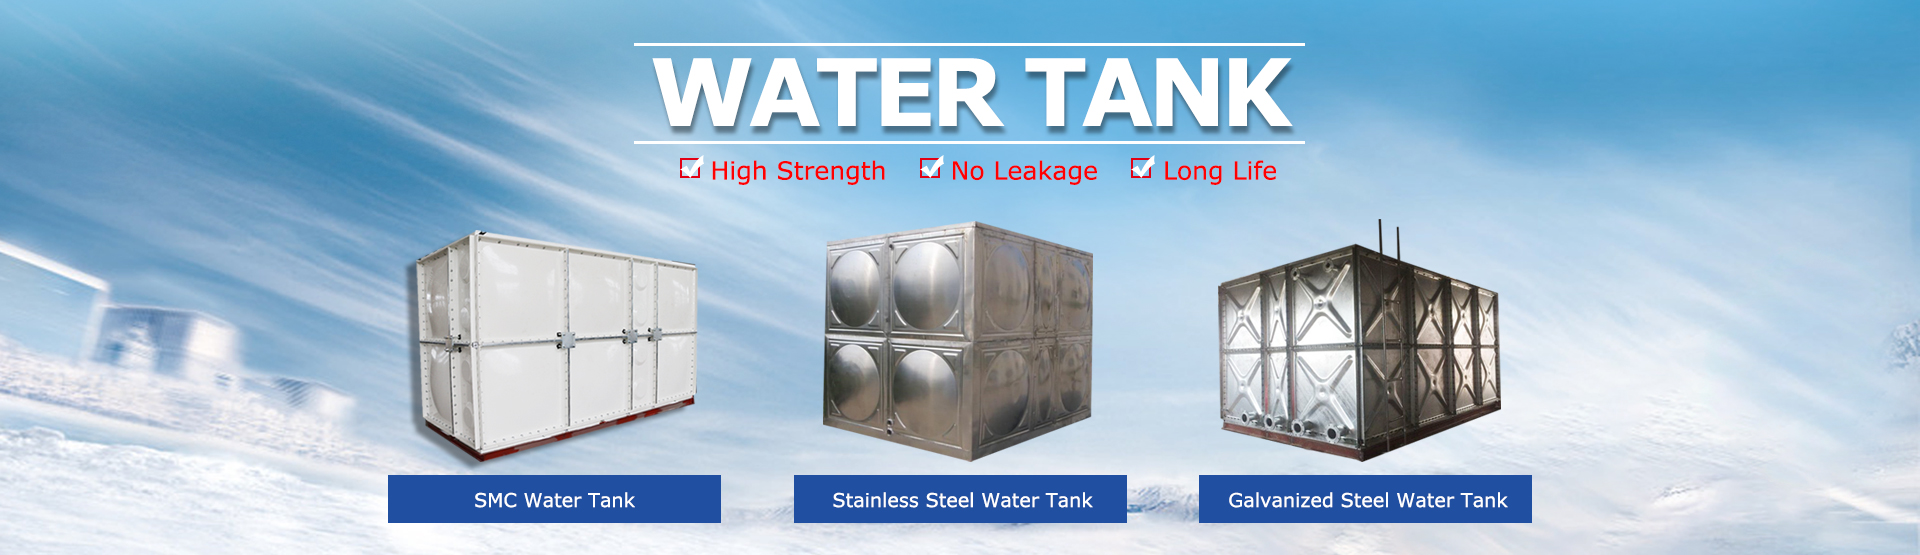
GRP Water Tank for Drinking Water
1. Description of GRP water tank:
GRP water tank is assembled by moulding single board, sealing , metallic structure, and plumbing. We can supply any specification according to customer's requirment to meet different using.

2. Advantage of GRP water tank:
1. light weight and high strength, which easy to transport and assemble at site
2. excellent waterproof property, with no leakage
3.anti-aging with long service for over 30 years.
4.free-maintainance
5. cost saving
3. Features of GRP water tank:
1. tensile strength Mpa≥60
2. bending strength Mpa≥100
3. Barcol hardness ≥60
4.water absorption ≤ 1.0%
5. Fiber glass content ≥25%
Maximum distortion of side wall ≤0.5%, distortion of the bottom≤8mm.
1). Potable Water Storage (drinking water)
2). Rainwater Harvesting & Storage
3). Emergency Water Storage
4). Pump Chambers
5). Effluent/Acid and alkali solution treatment & Storage
6). Hospital,buildings,building site, school and other place
P.S. Besides above common fields, there're also some other special applications.
5. The GRP Combined Water Tank Structure:
The SMC combined water tank consists the SMC plate, sealing materials, structural article and the pipe system. The general water tank is standard design, the special water tank need to the special design. The overall strength is high, No leakage, no deformation, convenient to maintenance and repair.

6. The GRP Water Tank Plate:
The panel thickness of each part in water tank is differet along with different tank's height: 
P.S. Above thickness just for reference, actual thickness will be changed according to tank capacity,
7. Accessories and specifications

8. SMC Combined Water Tank Installation:
Step 1. Install steel footings on leveled concrete foundations.
Step 2. Align GRP panels to be pre-assembled.
Step 3. Place rubber sealant from ready-to-use roll between panels.
Step 4. Connect panels with bolts and nuts.
Step 5. Position bottom panel sections, and finish up base of tank.
Step 6. Position three sides of the tank.
Step 7. Position and fix roof panels and if required, roof support pipes and plates.
Step 8. Install reinforcement if required.
Step 9. Close up the tank with the fourth side.
Step 10. Finish the internal or external reinforcement.
Step 11. Fill and test.

9. Packing and Shipping

10. Contact Information

Previous: Tube Settler work principle


Address
No.88, Qilian Street, High-Tech Zone, Shijiazhuang, Hebei 050000, China
Tel
+86 311 6779 0805
+86 188 4915 5666
Copyright © Hebei Long Zhuo Trade Co., Ltd. All Rights Reserved Technical Support:  Sitemap