Replacing cooling tower fill requires careful preparation, accurate measurement and correct installation. New fill must match the tower's airflow arrangement, support structure, water distribution system and operating conditions.
The following steps outline the main cooling tower fill replacement process. Actual work must follow the equipment manufacturer's instructions and the site's maintenance and safety procedures.
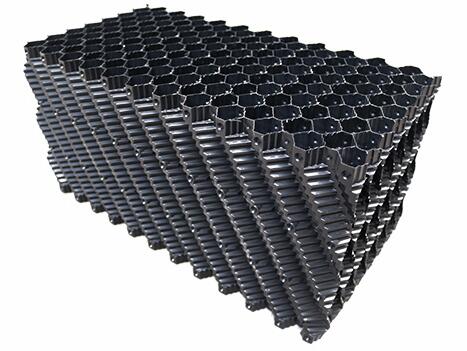
Before starting replacement, review the existing fill configuration, tower drawings and equipment documentation. Confirm that the required replacement components, lifting equipment and maintenance tools are available.
Qualified personnel must safely shut down the tower, isolate hazardous energy and follow applicable lockout/tagout, fall protection and confined-space procedures where required.
Before removing the original fill, record its dimensions, material, orientation and installation arrangement.
Important information includes:
Cooling tower type: crossflow or counterflow.
Existing fill pack length, width and depth.
Fill material and sheet configuration.
Support structure and retaining components.
Known manufacturer or model information.
Photographs of the original installation.
These records provide a reference for confirming replacement compatibility.
Remove the existing fill modules according to the approved maintenance procedure. Avoid damaging structural supports, water distribution components and other equipment that will remain in service.
Old fill may contain biological deposits, mineral scale or contaminated sediment. Suitable protective measures and waste handling procedures should be followed.
After removing the old fill, inspect the supporting beams, grids and retaining components for corrosion, deformation or damage.
Damaged supports should be corrected before installing replacement fill. The new modules must be supported according to the original tower design or an approved engineering modification.
Check the condition of the water distribution system before installing new fill.
Blocked or damaged cooling tower spray nozzles can create uneven water loading across the fill section.
Any identified distribution problems should be corrected using the equipment manufacturer's maintenance procedures.
Compare the replacement modules with the original equipment requirements before installation.
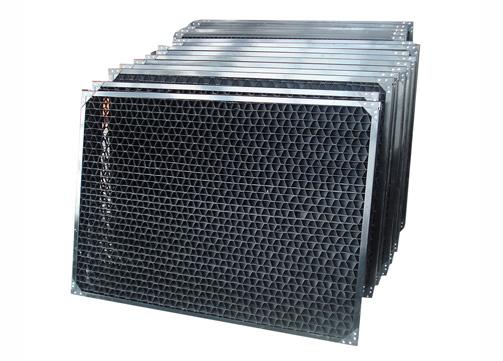
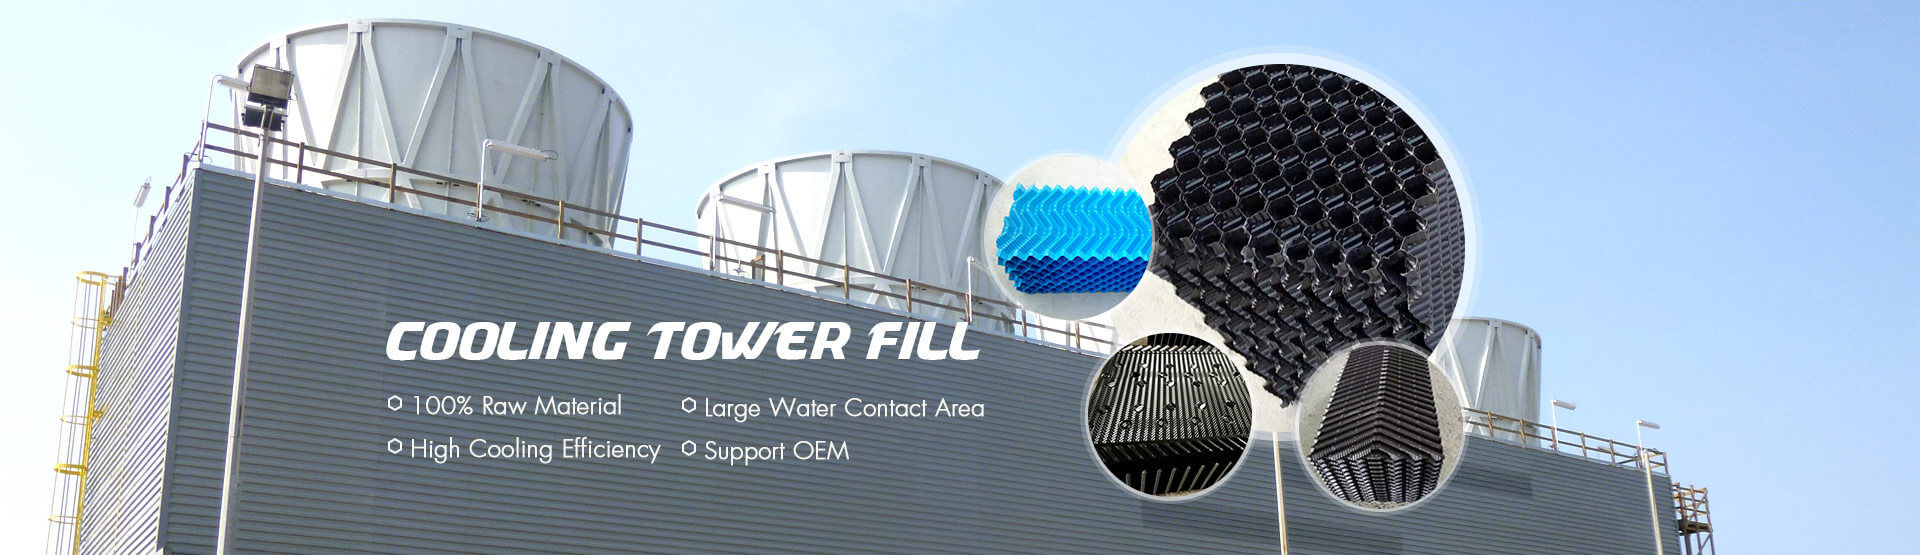
For a crossflow tower, verify the dimensions and orientation of the selected crossflow cooling tower fill.
For a counterflow tower, check the sheet configuration and installation requirements of the selected counterflow cooling tower fill.
Confirm the following specifications:
Required module dimensions.
Material and sheet thickness.
Fill geometry and channel orientation.
Support compatibility.
Assembly and retaining requirements.
Condition of the delivered modules.
Position the new fill modules according to the approved installation sequence. Maintain the required orientation and ensure that each module is adequately supported.
Avoid forcing fill packs into spaces that do not match their dimensions. Improper installation may deform the sheets or interfere with airflow and water distribution.
Where adhesive bonding or mechanical assembly is required, use the specific method recommended by the manufacturer.
After installation, inspect the alignment of adjacent fill packs and verify the clearances around structural components.
Some gaps may be intentional design features. Unexpected spaces should be evaluated against the product drawings before attempting correction.
Check that all modules remain secure and that the intended water and airflow passages are unobstructed.
Before restarting the cooling tower, remove tools, packaging and installation debris from the work area.
Verify that the fill supports, retaining components and water distribution equipment are correctly positioned.
Confirm that the maintenance area is clear and all required safety checks have been completed.
Restart the cooling tower according to the approved operating procedure.
During controlled operation, inspect the water distribution pattern and check for abnormal bypass, displacement or obstruction.
Operating measurements such as entering and leaving water temperatures, circulating water flow and ambient conditions may be recorded for later performance assessment.
Equipment shutdown and isolation completed.
Existing fill dimensions recorded.
Old fill removed and disposed of appropriately.
Supporting structure inspected.
Water distribution equipment checked.
Replacement fill specifications verified.
New fill installed in the correct orientation.
Module alignment and supports checked.
Debris and tools removed.
Startup inspection completed.
Cooling tower fill replacement requires accurate measurements, safe removal procedures, suitable replacement material and proper installation. The new fill must be compatible with the tower structure and operating conditions.
Before beginning a replacement project, verify the dimensions and specifications of the required cooling tower fill to reduce the risk of installation problems.


Address
No.88, Qilian Street, High-Tech Zone, Shijiazhuang, Hebei 050000, China
Tel
+86 311 6779 0805
+86 188 4915 5666
Copyright © Hebei Long Zhuo Trade Co., Ltd. All Rights Reserved Technical Support:  Sitemap